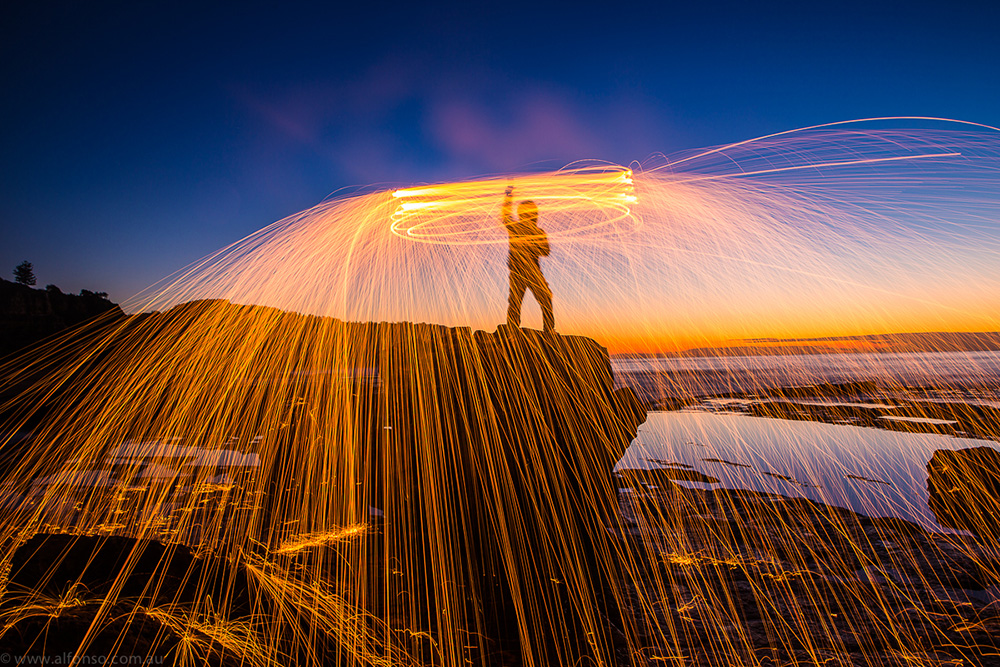
Want to add another dimension to your photography portfolio? Alfonso Calero and Nikki Easterbrook show you how to set-up and shoot a 'burning ring of fire'.
01 WHAT YOU NEED
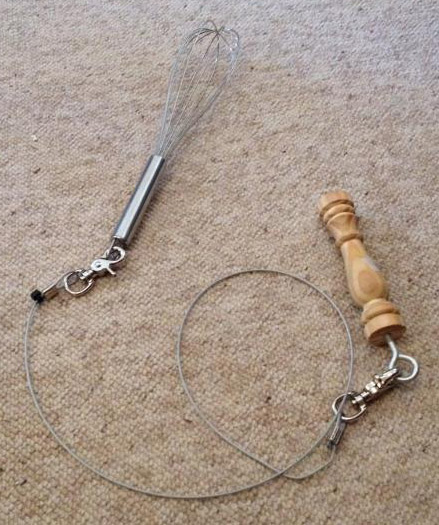
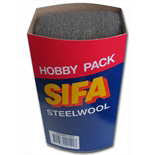
You won’t require a lot of expensive gear to photograph this spectacular light show. Everything you require is pretty much in or around your home. You will need a metal whisk, steel wool (zero grade), a dog leash or similar (preferably about one metre long) and a 9-volt battery or gas lighter.

02 CAMERA GEAR
Grab your DSLR camera and preferably a fast wideangle lens (somewhere between 16 and 24mm works well). To keep your shots steady, use a sturdy tripod and a remote shutter release. Since you are photographing at night you'll need a torch. A headlamp is ideal as it keeps your hands free to operate the camera.

03 LOCATION, LOCATION, LOCATION!
A beach is a good location for this kind of shoot as it's normally quite easy to find a place on the sand or rocks that's well away from anything flammable.
04 SAFETY
Before you do anything, talk to your local council and fire brigade and let them know what you are doing, when and where. They may be able to offer guidance on the best time and place to shoot and additional safety precautions. Safety is paramount. Wear protective clothing and find a location that's well away from other people, animals and potential fire hazards (eg. shrubs, trees, grass, leaves, etc...). Do not shoot in windy conditions and do not shoot if there are local fire warnings in place.
05 CAMERA SETTINGS
Set your camera to manual mode and take a few shots to establish how bright any ambient light in the sky might be. Typically I set my camera to an ISO of 100 or 200, with an aperture of f/8 to f/11, and a shutter speed between 20 and 30 seconds. In the menu settings on your camera there should be an option to turn noise reduction (NR) off. You're much better off shooting in RAW mode and applying noise reduction in post-production. Shooting RAW will also help you capture more detail and give you more flexibility to adjust variables such as white balance, exposure and contrast later on.

06 START SHOOTING
Place the steel wool inside the metal whisk and gently spread it out. (By pulling the steel wool apart you maximize airflow and ensure a longer lasting effect.) Attach the whisk securely onto the long dog leash and hand it over to your trusty assistant. Remember, the person spinning the whisk must be wearing protective clothing. Dark colours are ideal as they will conceal the person spinning the whisk. Make sure that your subject is standing in a clear space and when you're ready have them light the steel wool, with the lighter or the 9-volt battery (rubb the battery's contact points on the steel wool). Experiment with different spinning the whisk speeds, patterns and camera settings to get the effect you're looking for. In no time you will be capturing amazing light shows of your own.
Alfonso Calero graduated from the Sydney Institute of Technology with an Associate Diploma in Photography in 2001 and has been professionally photographing fine art, food, portraits, landscapes and travel subjects ever since. He is the owner of a travel education and tours company that delivers workshops every Saturday morning in Sydney, Melbourne, Brisbane, Adelaide and Fremantle. One on one or in small group sessions also available. He also takes groups to Japan, Philippines, Spain and Tasmania once a year for 5, 10 and 14-day photography workshops. For astrophotography and light painting workshop dates and bookings click here.


