How to: Create your own Lightroom presets
Using Lightroom’s presets are a handy way to speed up your workflow. They allow you to use commonly applied settings at the touch of a button, saving valuable editing time.
And while Adobe has greatly expanded its own preset offerings over the years, there’s something much more satisfying about creating your own, and in your own style. So, let’s take a look at how you do it.

Process the image
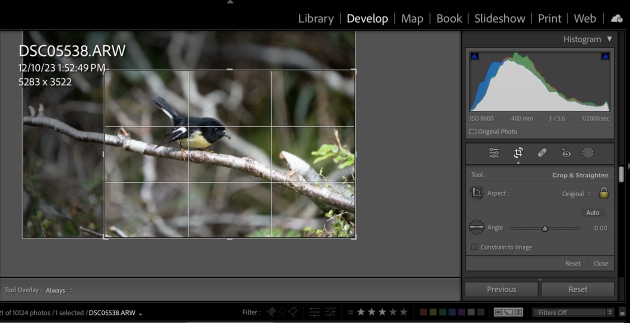
Firstly, you’ll want to start by applying any basic RAW processing required before applying your unique preset. To save even more time, you could create a preset for your basic RAW adjustments, but as every image will need its own unique basic adjustments it may be best to do these manually – cropping or noise reduction are good examples.

Apply the effect
For this shot of a Miromiro/Tomtit I photographed in New Zealand last year, I’m going to create a warmer, punchier look that accentuates the texture of the feathers and the yellow tones in the wee bird’s breast.
To do this, I set the Colour Temperature to 5100, Exposure +0.30, Contrast +29, Highlights -50, Texture +10, Clarity + 20, Vibrance +15 and Saturation + 10 to complete the effect.

Save the preset
Expand the Preset tab, and click on the plus symbol and then ‘Create Preset’. When the dialogue opens, give the preset a new name. I’ve called mine ‘Warm Preset’. By default it will be placed in User Presets. Click ‘Check None’ to clear all the fields, and then click on only the adjustments you want to be included in your preset, before clicking ‘Create’.

Apply it now…
With the preset now saved, you can find it under User presets in the Presets tab. Hovering over the preset name will temporarily show it applied to the active image. To apply it, simply left-click on the name and the adjustments will be applied to your image – easy.

…or apply it at import
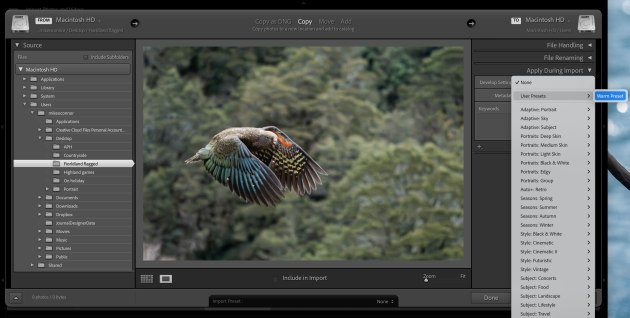
You can also apply your preset at import, saving even more time. To do this, in the Import dialogue, expand the Apply During Import tab on the right and select your preset from the list.
This is great for instances where you have lots of shots of the same subject, and you want to bulk edit in one hit. You can also create a bunch of your own presets for different effects as well. ❂


