3 Quick Tips for Photographing Canyons
I remember the first time I saw a photograph taken inside a canyon. It was on the cover of National Geographic magazine and immediately I knew I wanted to shoot in places just like it. They all seem to have the power to suck you in and make you forget about the outside world.
There's the obvious safety issues with canyoning, and then there's the photography. Shooting in canyons can be a love/hate relationship. You’re usually battling cold water, mist, low light and even intense sunlight. Add in the fact that sometimes you’re hanging off the side of a waterfall or a cliff, and you can start to see why it can be very difficult. This is what I've learned.
Get your gear right
Taking the right gear into a canyon is hugely important. They are challenging environments and as a lot of canyoning require big swims and abseiling down waterfalls – your gear will get wet! Everything I take is double-bagged in good quality dry bags along with a small towel to stop things crashing together.
Because you'll be in a wetsuit, you can also put a change of dry clothes in as another layer. I recommend this gear be then held inside a weatherproof backpack. I use an F-Stop Satori, which is waterproof, along with a set of Sea-to-Summit dry bags which are thick and reliable. Whatever you choose, you'll also need space for your wetsuit, harness, helmet and rope. Choose something tough as when you are in a canyon you will be sliding over rocks and bashing through bush.

My preference is to take two camera bodies with me because the air in canyons can be really dense. If you can, try to avoid lens changes as water is everywhere and can easily ruin a days shooting. Picking a camera with good weather sealing is a must. I carry two full-frame bodies, a 36 megapixel Nikon D810 and the slightly smaller 24 megapixel D610. I also carry a Nikon SB-910 flash in case the light is challenging.
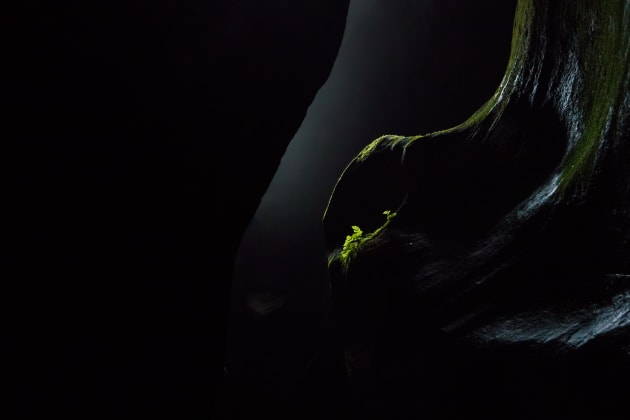
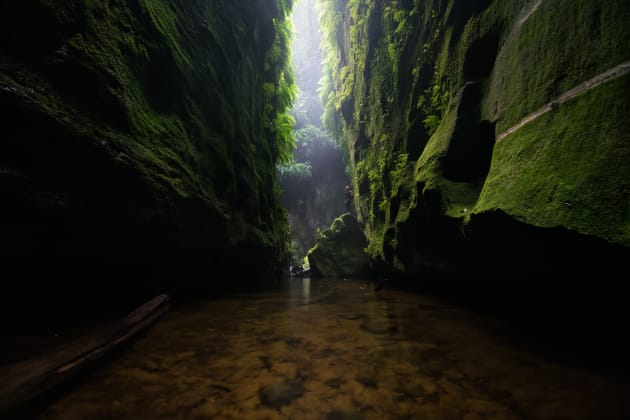
A fast wide-angle like the 14-24mm is ideal for shooting in canyons where you are often dealing with vast spaces, deep water and high walls. The 50mm is saved for more personal shots – I use it for focusing on people, capturing their emotion as they make their way through the labyrinth. It's also great for capturing small details too, like sunlight capturing the edge of a fern hanging off the side of the wall. Whatever you choose, make sure you have a fast lens (f/1.4, f/2.8) as light is often low and changes in the blink of an eye.
If your budget allows, full-frame cameras really come into their own in environments like canyons. There is often harsh lighting and huge dynamic range to deal with, and you'll find the larger sensors really help save detail in the shadows.
A full-frame camera will give you the best chance of grabbing all the information you need without having to do exposure blends. For the photography I do, file size is also important and the benefits of the big sensor are obvious - shots often need to be blown up as big as possible. Having 36 megapixels really makes a difference here.

A tripod isn’t essential but I do recommended them. I may only get my tripod out three or four times a day, but having one will give you more creative flexibility – you can slow your shutter speed to get movement in water or capture multiple exposures when the dynamic range is off the Richter! The obvious negative of a tripod is it can make moving through canyons tougher. My advice is to get something stable but compact.
On the technical side, I carry a solid climbing harness with tough straps, a belay device, multiple screw gate carabiners, prusik loops of varying sizes, helmet (always wear one!) 120mm slings and a 60m 9mm canyoning rope. A pair of dunlop volleys will also serve you well on slippery surfaces.

Camera Techniques
I have two very different methods when I shoot in canyons. For set up shots I recommend you try to shoot with the camera at the lowest ISO you can for maximum detail and lowest noise. Set your aperture somewhere between f8 and f11, depending on the light. This is the range in which most lenses perform the best without softening on the edges, with as much of the frame in focus as possible. If there's moving water in the shot you'll probably want to try and extend your shutter speed to slow it down. If I can, I like to shoot with a shutter speed of 1/3s. I've found this generally gives the nicest movement.
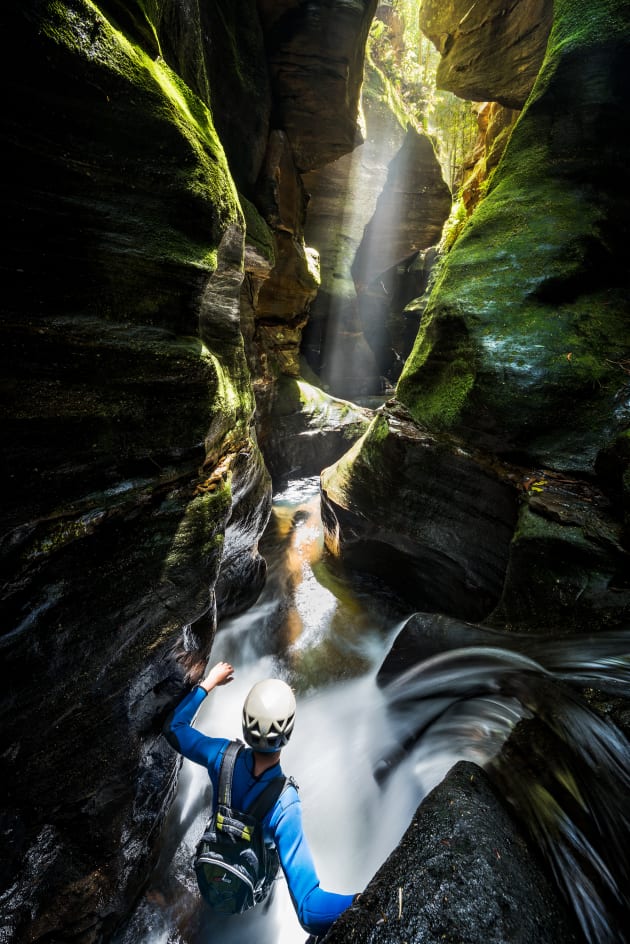
Compositionally, I like to compose a lot of my shots vertically and because I usually have a subject close to my lens, I usually need to focus stack to get the whole scene in focus. This involves taking multiple frames, focusing further and further into the shot with each, before blending together in Photoshop. This will help capture the whole frame in focus.

The biggest challenge in canyons comes from the difference in highlights and shadows. To get a correct exposure, start by checking the histogram to see if your image is clipping at both ends of the scale (under and over exposed). If the highlights are too bright, try taking three to five frames to capture a wider dynamic range, underexposing and over exposing by a third of a stop in each. When you process the images, combine them and you'll get an accurate exposure. A lot of my landscape shots include a human element. With a tripod shot, this is best done in two exposures.
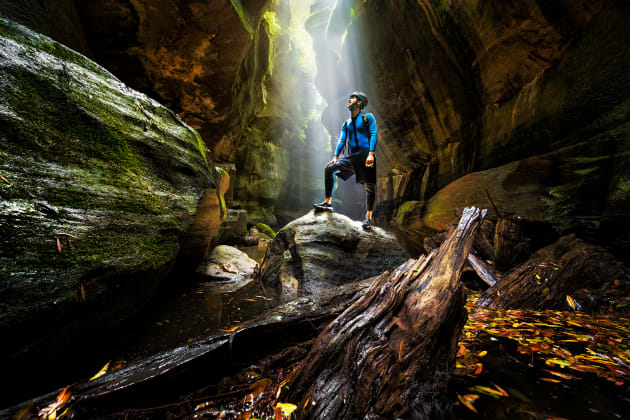
I stop down to f11, and set the ISO to its lowest settings, adjusting the shutter speed to whatever is needed to get an accurate exposure. I take a shot, then get my subject to enter the scene and either have them move around or position them directly where I want them. I open the aperture up to the widest I can (f2.8 on my wide lens) if the person is small in the scene, or close down (f4.5 or so) if they are closer to the camera. Remember to keep an eye on your shutter speed. If you can't achieve something close to 1/100s, adjust your ISO up. Finally, I set focus on the person and take a shot.

If you're not using a tripod, I really recommend setting your camera up in advance. For on-the-go documentation style photography, I set mine up in a couple of different ways. On the D810 I set my aperture to between f5.6 and f8 and shutter speed to around 1/200s to 1/250s to freeze motion. I turn my ISO to auto, and in the settings I cap the max ISO at 6400. I find this gives me the greatest flexibility to grab the camera straight out of the bag and pull the trigger. The D610 is set in a similar way but I lower the max auto ISO to 3200 and flick between manual and shutter priority. This means I can take the camera in my hand to my face in an instant to capture a fleeting moment. Setting the shutter to 1/200s guarantees I freeze movement and the camera sets the ISO and aperture for me. If I have time I will flick back to manual and reshoot, but setting the camera safeguards me from missing a moment.
Be safe
We take photos of nature and adventure because we love being outside in it. You can't beat the buzz of seeing something you haven’t seen before or climbing something that was previously too hard. But always work within your limits. Most importantly, only attempt canyoning with people who have done it before, and always study track notes. Take it all in, enjoy the journey and then capture your images.
You can see more of Jake's work at www.jakeanderson.com.au


