Photo tip of the week: How to photograph multiple wildlife subjects
Whether it’s family groups or full-on flocks, handfuls of animals or whole herds, photographing multiple wildlife subjects presents a bunch of challenges and choices that can easily freeze up your trigger finger if you’re not adequately prepared.
The problem is that while wall-to-wall wildlife witnessed with the naked eye can be truly amazing, how on earth do you convey the sense or distil the beauty of it all in a single image? Playing the numbers game can be richly rewarding when you get it right, and mastering the techniques and approaches involved will help you take your photography to the next level.
Three’s a crowd
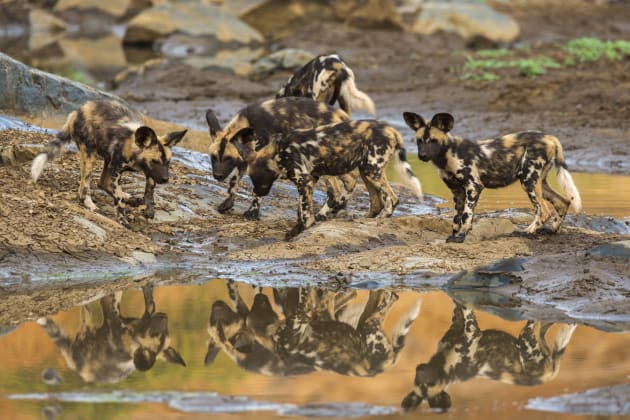
It’s not a bad idea to start your photography of multiple wildlife subjects by concentrating on smaller groups. Anything more than two counts as a group here so, as the saying goes, three’s a crowd.
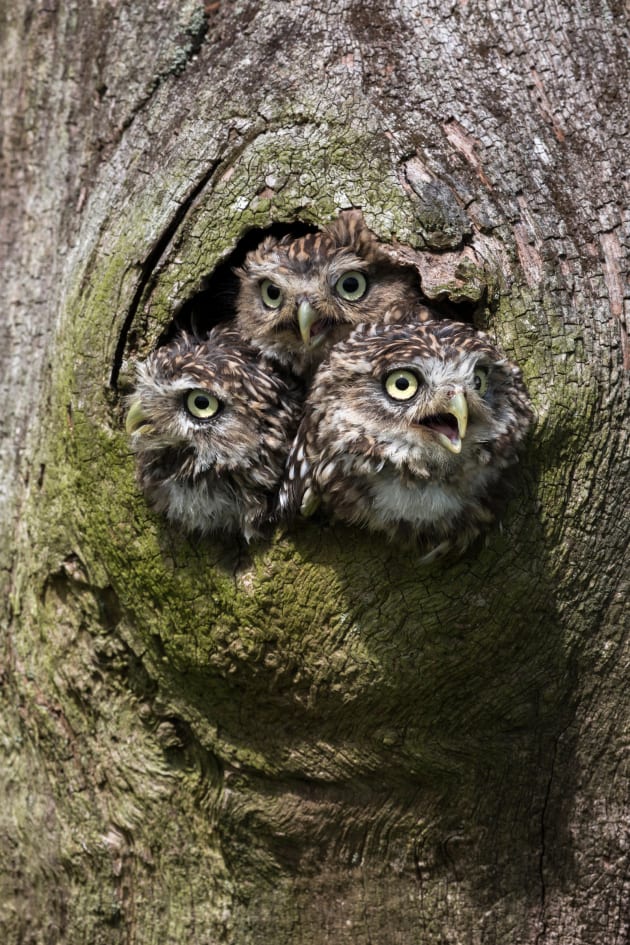
It’s useful to remember too that odd numbers of animal subjects arranged in the frame will generally have more aesthetic appeal than even ones as the latter tend to make images look a bit too symmetrical – be alert for units of threes, fives, sevens and so on when you’re in the field.
One of the main technical issues to bear in mind when photographing groups of wildlife is getting the sharpness you want throughout and mastering depth of field issues. With small groups where the individuals are all in parallel and in the same plane you shouldn’t need to worry too much about depth of field. Just keep in mind if you’re using long telephoto lenses, which have shallow depth of field, that you might need to stop the aperture down to ensure all subjects in the group are pin-sharp, even when they appear to be standing quite close.
Splendid isolation
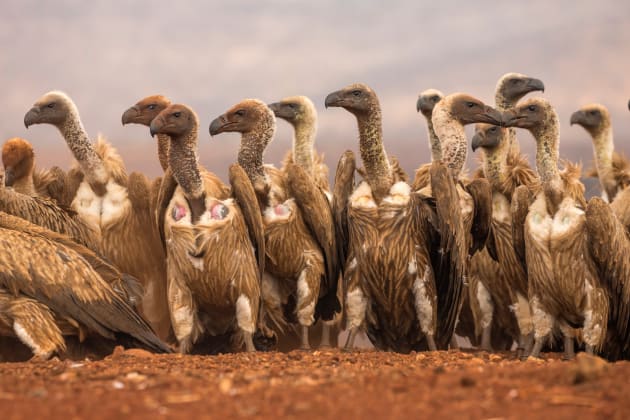
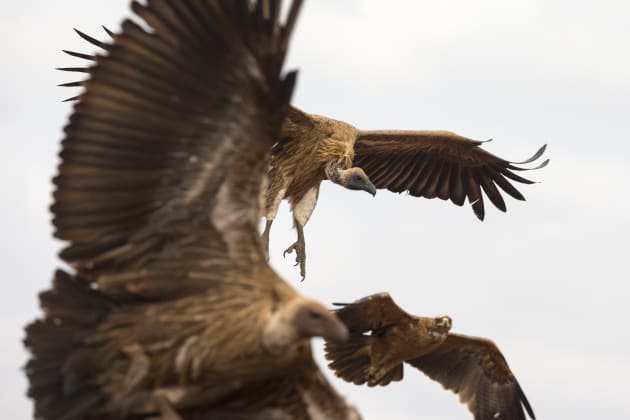
The next thing to do is to cultivate the habit of watching and waiting for the ‘isolation’ of subjects within that group before firing the shutter. Ensure that each individual member of the group is reasonably distinct from the other so the scene isn’t jumbled and confusing and you haven’t inadvertently framed the shot with one subject’s head sticking out from behind another’s bottom.
We’ll sometimes wait a long time for a promising group of wildlife subjects to re-arrange itself so we get the ‘isolation’ between group members we’re looking for. If it doesn’t happen we won’t press the button. You need to be uber-critical about such things because the difference between a group shot that comes off and a muddled one that doesn’t, rests on tiny details such as this.
Order in chaos
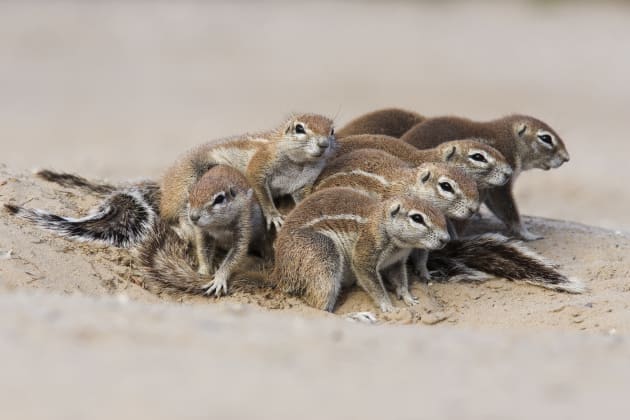
The wildlife numbers game is all about finding ways to make pleasing visual sense of a random group of subjects. Physical connections between individuals within a group can be hugely helpful when framing groups because they provide a helpful and obvious focal point for your shot – two young bucks locking horns in a bachelor herd of antelope for example.
Train your eye to look past your subjects as identifiable members of a species and see them instead as a series of shapes – the building blocks or jigsaw pieces of your picture. How you choose to arrange these shapes within the frame will make or break your picture. Things like repetition – where a group of animals each echoes the other’s position or stance; fluid circular shapes so the viewer’s eye is continually redirected around the frame; snaking lines of subjects trekking across the frame; or bold diagonal rows of animals bisecting the image dramatically.
Chaos in Order
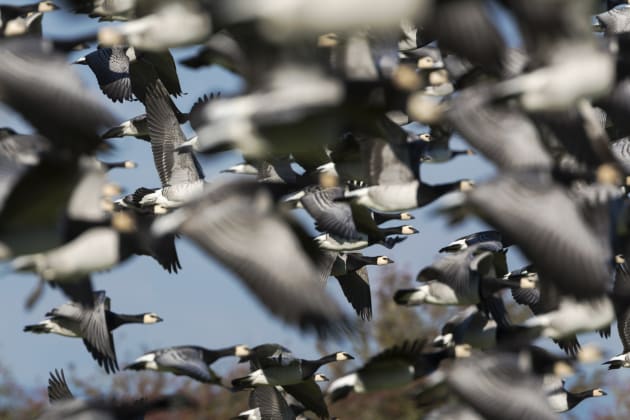
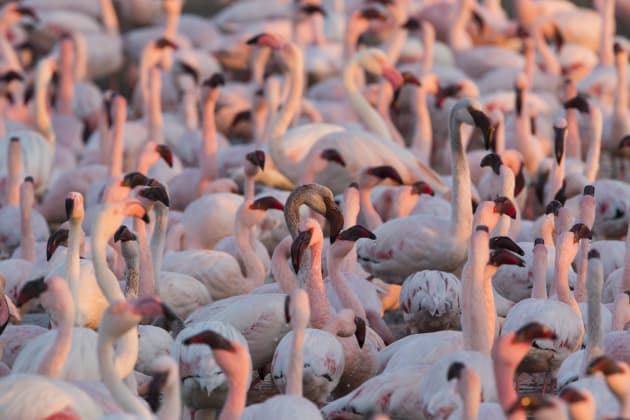
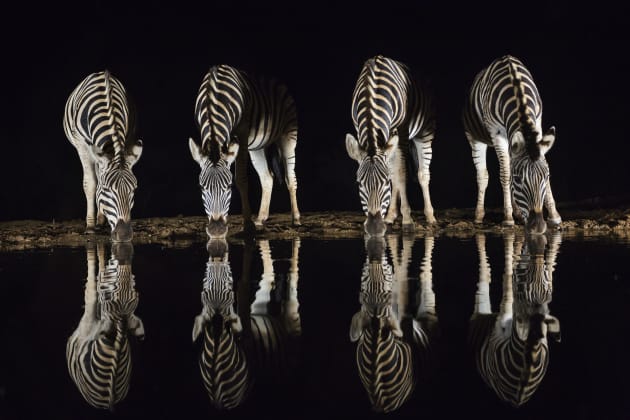
Every rule is worth breaking from time to time to give your images added vitality and make them stand out. Try simply capturing that sense of chaos when there’s a myriad of subjects, rather than trying to organise the scene and impose a shape on it. Don’t overthink it – the results can be quite powerful and evoke exactly what it feels like first-hand to experience a sky filled with birds or plains teeming with wildlife.
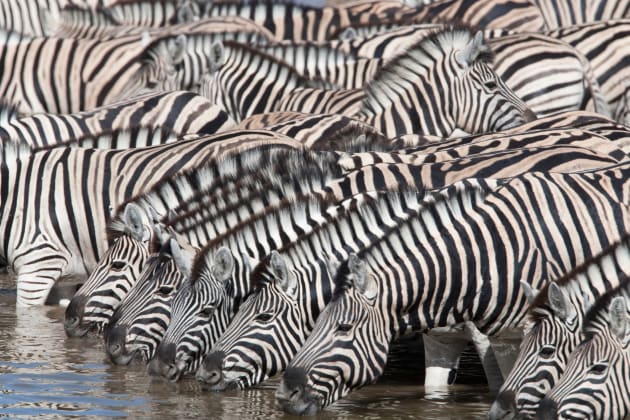
To make such shots work you need to allow your subjects to exploit all of the frame and even burst out the edges, like repeat pattern wallpaper. This is a great way to add emphasis to the weight of numbers you’re photographing, communicating that there’s so much wildlife you can’t contain it in the frame.
It also helps if you select to use shallow depth of field and focus on one or two subjects in the centre of the crowd, allowing those in the fore and backgrounds to fall off and frame the subjects in focus. This creates a 3D feel and puts your audience right in the middle of the crowd.
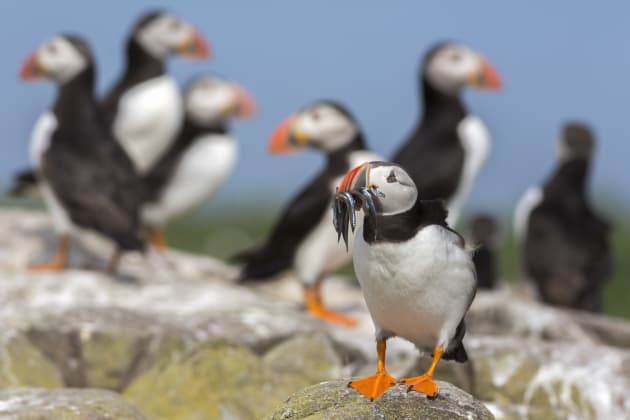
Crowd control
Getting the ‘correct’ amount of depth of field when photographing groups can be a problem. Not enough and your group shot may appear soft, too much and you risk bringing the background up so much so it fights with your subjects. If you’re unsure about all this in the heat of the moment, our advice would be to focus clearly on the nearest animal in the group. Depending on the size of the animal in the frame this might mean focusing on one animal’s eye if it’s in close-up, the head if it’s further away, or its body if it’s much smaller in the picture. Then move to the nearest group of animals and so on. The only way to get the right trade-off between depth of field and sharpness in these situations is practise. Start by taking several captures, stopping down a bit more each time.
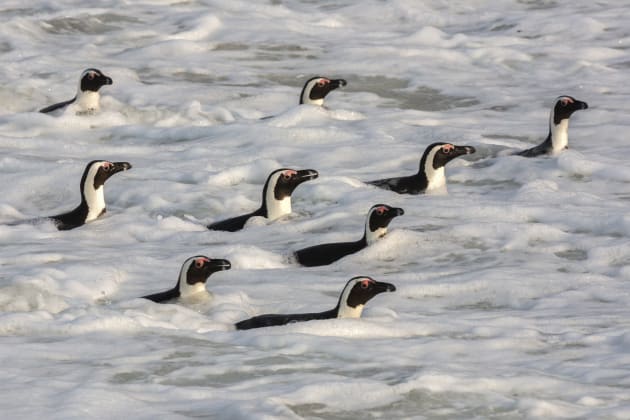
Bear in mind depth of field considerations like exposure are not always clear cut. Some of the best group wildlife shots work precisely because the photographer has chosen to minimise available depth of field rather than maximise it. Deliberately exploiting shallow depth of field when photographing groups to isolate that ‘one-in-a-million’ individual to make it appear to stand proud, is a classic technique for shooting wildlife numbers.
Steve and Ann Toon are UK-based award-winning wildlife photojournalists with a passion for Africa and a special interest in conservation. See more of their work at toonphoto.com.
